From Cleansing to Glow: The Journey of a Signature Facial Treatment
A facial is one of the most timeless spa rituals—soothing, refreshing, and deeply restorative. But a signature facial goes beyond the basics. It’s a carefully designed sequence of steps that combines expert techniques, professional-grade products, and a touch of artistry to transform tired, stressed skin into a luminous glow.
2/19/20264 min read
A facial is one of the most timeless spa rituals—soothing, refreshing, and deeply restorative. But a signature facial goes beyond the basics. It’s a carefully designed sequence of steps that combines expert techniques, professional-grade products, and a touch of artistry to transform tired, stressed skin into a luminous glow.
Whether you’re a first-timer or a spa regular, understanding what happens during a facial helps you appreciate why it feels so luxurious—and why your skin looks so radiant after. Here’s a step-by-step journey through a signature facial treatment, from the first cleanse to that post-spa glow.
Step 1: The Skin Consultation – Personalizing Your Experience
Before the facial even begins, your therapist will usually start with a skin analysis.
They’ll ask about your skincare routine, concerns, and recent habits—like sun exposure or stress. Using magnifiers or digital skin scanners, they can assess your hydration level, sensitivity, and pore condition.
This consultation ensures that every product and technique used—whether calming, brightening, or anti-aging—is customized to your unique skin needs.
It’s the foundation of what makes a signature facial so effective: it’s never one-size-fits-all.
Step 2: Cleansing – The Fresh Start
Every great facial begins with a deep cleanse. The goal here isn’t just to remove makeup or sunscreen—it’s to eliminate impurities, oil buildup, and surface dirt that dull your complexion.
Therapists often use two cleansers:
A gentle milk or oil cleanser to dissolve makeup and sunscreen
A water-based cleanser to purify pores
In high-end facials, warm towels or steam are applied to open pores and enhance absorption.
This stage leaves your skin feeling refreshed and perfectly prepped for deeper treatments ahead.


Step 3: Exfoliation – Out with the Old
Exfoliation is the step where radiance starts to reveal itself. Using either a mild scrub, enzyme peel, or gentle acid exfoliant, your therapist removes dead skin cells that cause dullness and uneven texture.
Some signature facials use Hydrafacial technology or microdermabrasion for a more advanced yet non-invasive exfoliation. The result? A smooth, renewed surface that better absorbs the next layers of hydration and nutrients.
After this step, your skin already feels softer, cleaner, and noticeably more alive.
Step 4: Extraction – Clearing the Way to Clarity
Extractions are the unsung hero of facials. Though not always the most relaxing step, they’re essential for achieving that clear, flawless finish.
With gentle precision, your therapist removes blackheads, whiteheads, or congestion that cleansing and exfoliation couldn’t fully clear. Professional extractions are done hygienically to avoid scarring or irritation—something that’s risky to attempt at home.
Once completed, your skin can breathe freely again, ready for deep nourishment.
Step 5: Massage – The Heart of the Facial
This is where the experience becomes pure bliss.The facial massage isn’t just indulgent—it’s a powerful skincare technique. Using rhythmic, upward strokes, your therapist stimulates blood circulation and lymphatic drainage, helping to reduce puffiness and lift facial contours.
The massage promotes oxygen flow and allows serums and creams to penetrate deeper.
It also releases facial tension, which can subtly soften fine lines.
Beyond beauty, it’s a full reset for your mind and body—a few minutes of total serenity.

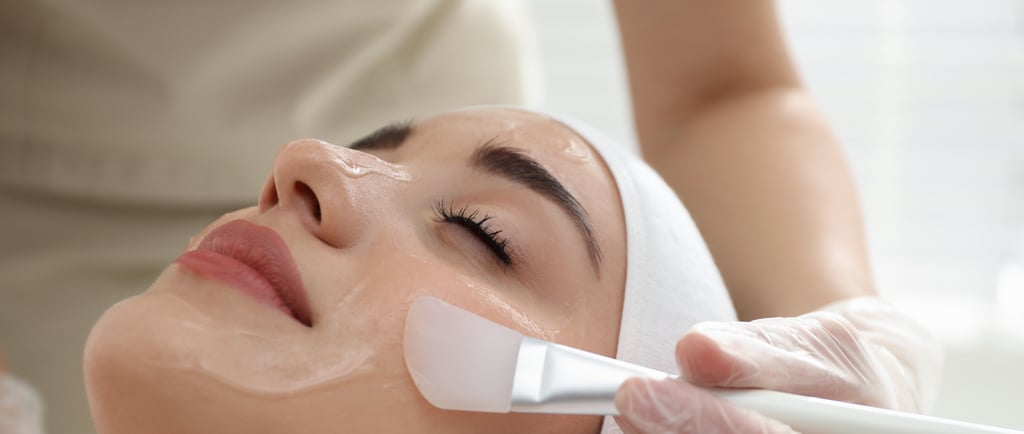
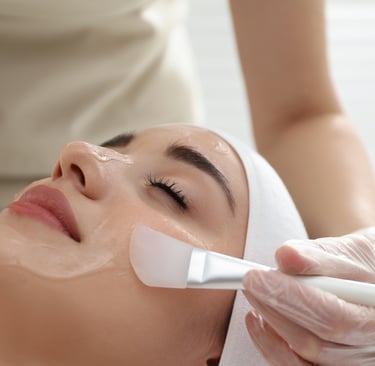
Step 6: Mask – Deep Nourishment and Balance
After cleansing and massage, your therapist applies a customized facial mask suited to your skin goals.
Options might include:
Clay masks for detoxifying oily or acne-prone skin
Gel or cream masks for deep hydration
Sheet or alginate masks for brightening and tightening
While the mask works its magic, you might enjoy a soothing neck or scalp massage—a signature touch that makes the experience even more luxurious.
When the mask is removed, your skin feels hydrated, smooth, and supple—ready to reveal its glow.
Step 7: The Final Touch – Seal and Protect
The final stage locks in all the goodness from your treatment.
Your therapist applies a serum rich in antioxidants or peptides, followed by a moisturizer tailored to your skin type. Finally, a layer of sunscreen ensures your freshly renewed skin is protected from UV damage.
This finishing touch gives you that unmistakable “post-facial glow”—healthy, radiant skin that feels as good as it looks.
Beyond the Spa: Extending Your Glow
To keep your glow going long after the facial, follow a simple skincare routine:
Cleanse twice daily
Hydrate with a serum and moisturizer
Exfoliate weekly
Always wear sunscreen
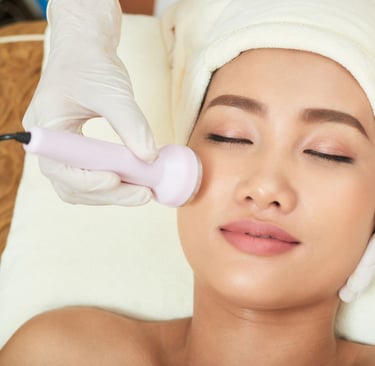
Your facial therapist might also recommend professional treatments like Hydrafacial, LED therapy, or oxygen facials to maintain your results. Regular facials—every 4 to 6 weeks—can dramatically improve skin texture, tone, and elasticity over time.
Conclusion: A Journey Worth Taking
A signature facial isn’t just about skincare—it’s about connection, rejuvenation, and transformation.
Each step—from the first cleanse to the final moisturizer—works in harmony to renew your skin and refresh your spirit.
When you rise from the treatment bed, you don’t just see the difference—you feel it.
Your skin glows, your senses relax, and you carry that peaceful, confident energy with you long after you leave the spa.
So the next time you crave both beauty and balance, remember: the journey from cleansing to glow is one your skin will always thank you for.
Facial Bangkok
Discover top-notch treatments for ultimate facial rejuvenation in Bangkok - Thailand.
Guide
© 2026. All rights reserved. Designed by Pimclick SEO Agency
Article